When customers arrive on your WooCommerce shop page, they want a quick way to find products. If they have to browse through long category pages or rely on filters that don’t match how they search, they often leave without purchasing.
WooCommerce does include a built-in search feature, but it only checks product titles and descriptions. It ignores SKUs, categories, tags, attributes, and variations, which often leads to incomplete or inaccurate results. This becomes a bigger problem for stores with larger or more detailed catalogs.
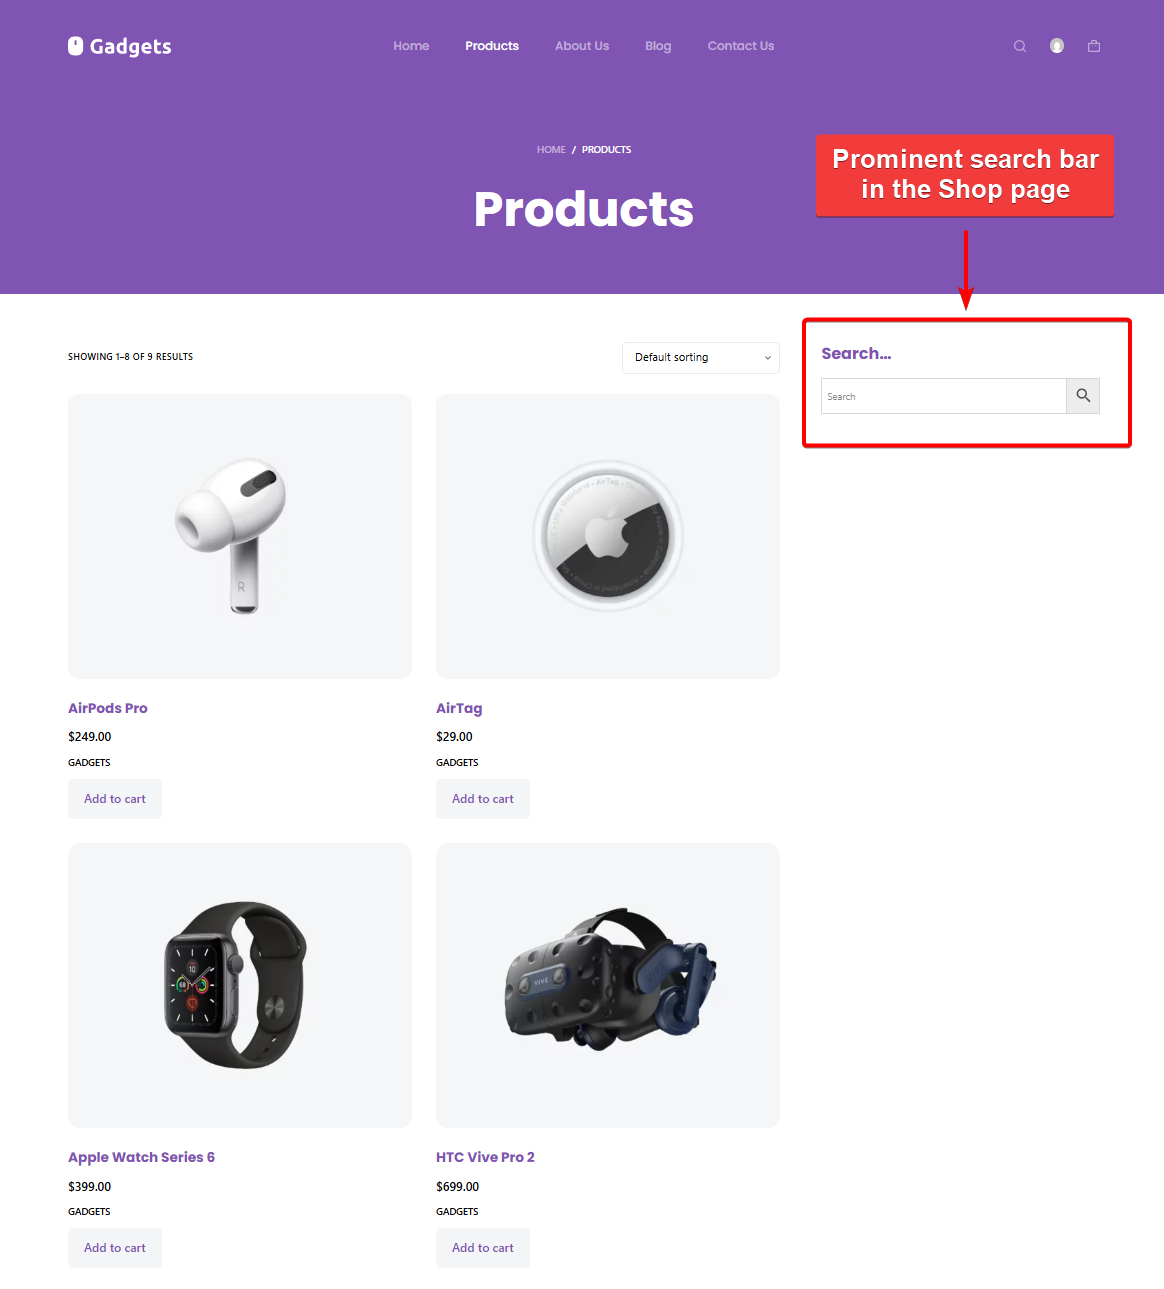
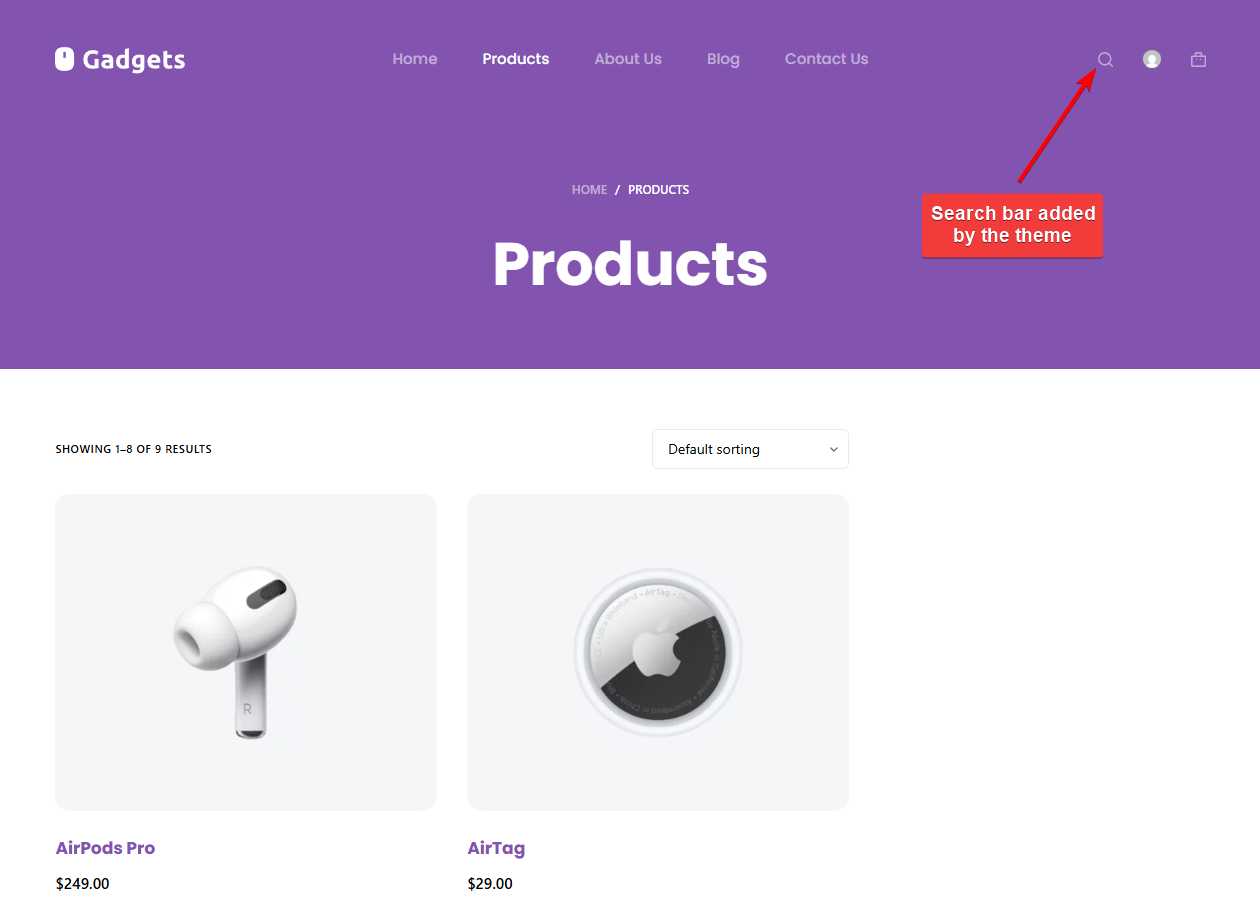
Most themes place a search bar in the header, but they don’t improve how the search itself works. The search box may look polished, yet it still uses WooCommerce’s basic system and inherits all its limitations.
Advanced Woo Search (AWS) solves this by offering accurate, real-time search across all key product fields. You can add a fast, responsive search bar directly to your shop page so customers can find products instantly without leaving the main shopping area.
In this guide, we’ll show you how to add a search bar to your WooCommerce shop page using AWS, with both automatic and manual methods, and simple tips to optimise placement.
Let’s get started!
Why Add Search to the Shop Page in WooCommerce
Adding a search bar directly to the shop page gives customers a faster and more intuitive way to navigate your products.
- Improves product discovery: Many shoppers arrive with a specific item in mind. A visible search bar on the shop page lets them find it instantly without clicking through multiple categories or filters.
- Increases engagement: When users can adjust their queries and view new results on the same page, they spend more time browsing and exploring your catalog. This reduces bounce rates and encourages deeper interaction.
- Boosts conversions: High-intent buyers often rely on search rather than navigation menus. Making search available at the point where they first view your products helps shorten the path to checkout.
- Fixes default search limitations: WooCommerce’s built-in search is limited and often misses key product data such as SKUs, attributes, variations, and custom fields. Adding a smarter product search tool on the shop page helps surface more accurate results.
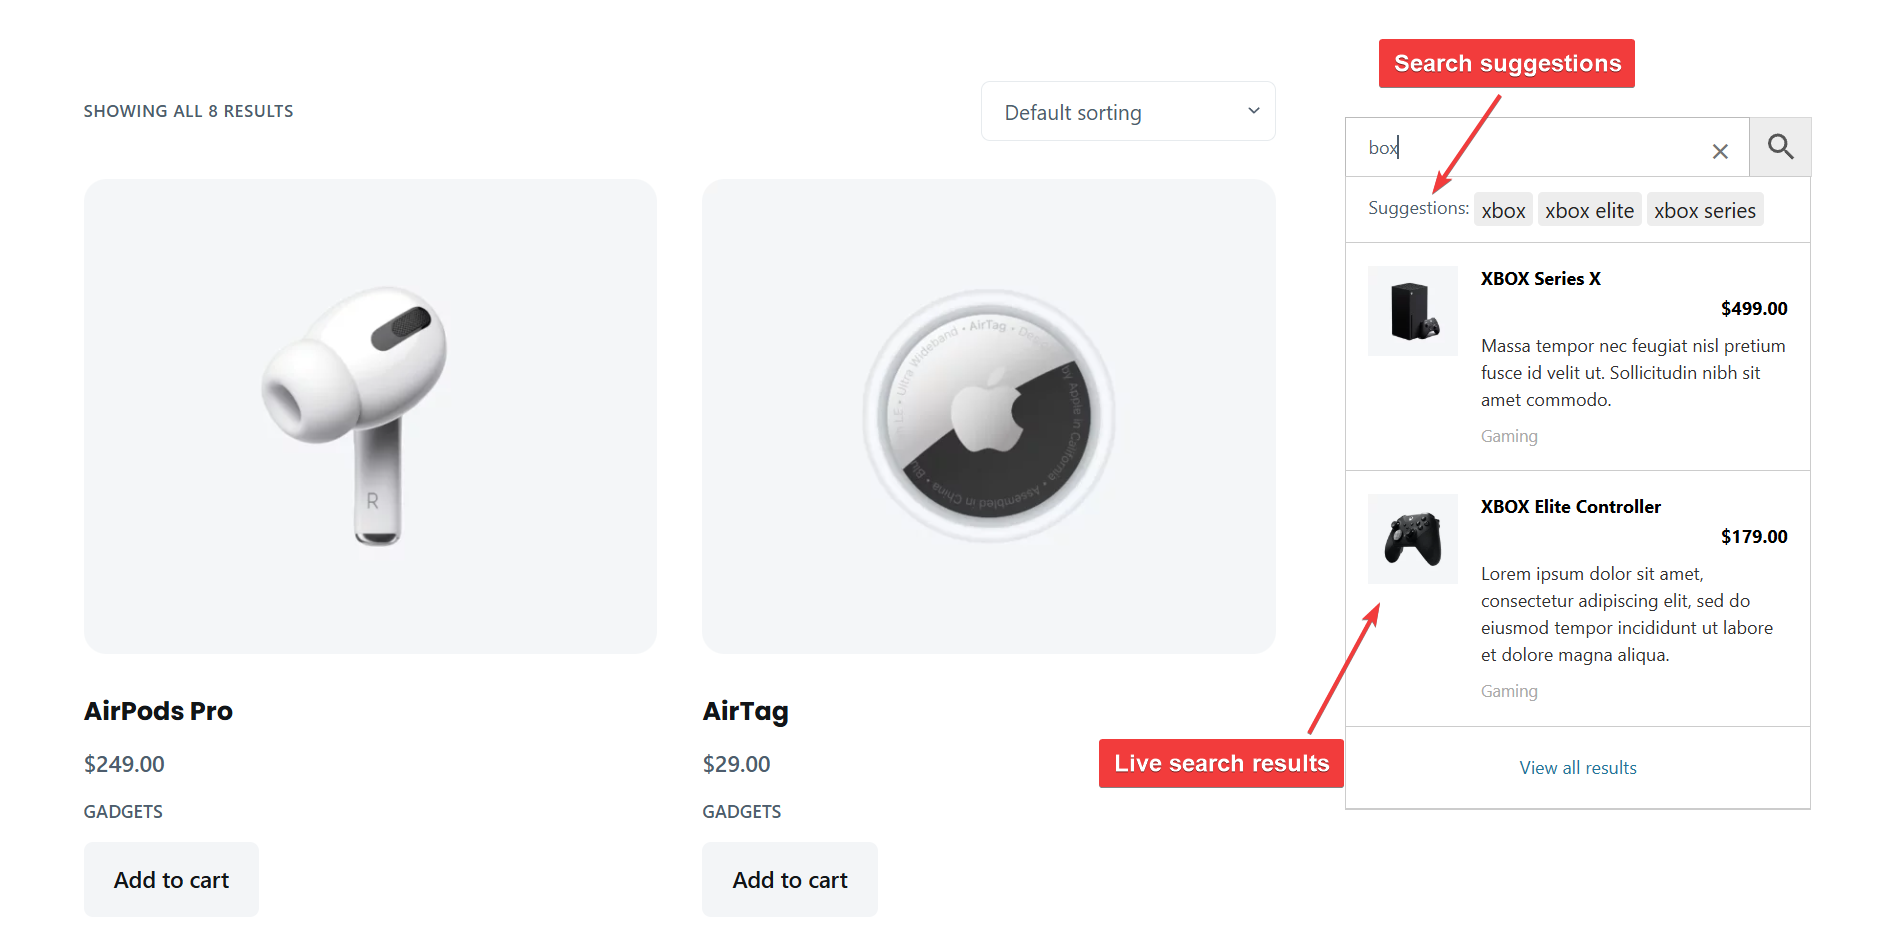
- Creates a better user experience: AJAX-powered live results give instant feedback with product images, prices, and titles. This feels smoother than loading a new results page and helps customers make quicker decisions.
- Works across all layouts and devices: A dedicated search bar fits naturally into most shop templates, and it remains easy to use on mobile screens where customers prefer quick search over long scrolling.
Adding search to the shop page makes product browsing more efficient and significantly improves how customers move through your store.
How to Add Search to the Shop Page in WooCommerce
WooCommerce has a default search engine, but it’s very limited.
It doesn’t offer any settings to improve search accuracy, and it doesn’t provide a shortcode or block to place the search bar wherever you want.
Most WooCommerce themes do include their own search bar and even let you show it on the shop page, but the search fields still rely on WooCommerce’s basic search system. So while the placement might improve, the search results remain the same and still ignore important product data like SKUs, categories, tags, and attributes.
To add a more flexible and accurate search bar to the shop page, you’ll need a good search plugin like Advanced Woo Search. AWS lets you place a search form anywhere using a shortcode, widget, block, or page builder widget, and it can also replace your theme’s search field automatically through Seamless Integration.
The steps below will show you how to set this up using both automatic and manual methods.
Before we start with the steps, it’s worth noting that AWS is available in both free and Pro versions.
The free plugin provides everything most stores need, including live AJAX search, seamless integration, shortcode support, and indexing for key product fields such as titles, SKUs, categories, and tags. The Pro version builds on this by offering multiple custom search forms, advanced relevance controls, support for custom taxonomies, and additional display options.
For this tutorial, we will use the free version of Advanced Woo Search, since it already includes all the features required to add a search bar to the WooCommerce shop page. Along the way, we’ll also point out a few Pro-only options, so you know what else is possible if you want more control or additional search features.
Step 1: Install & Activate Advanced Woo Search
To begin, install and activate the free Advanced Woo Search plugin from your WordPress dashboard. You can do this by going to Plugins → Add New, searching for the plugin by name, and clicking Install Now, then Activate.
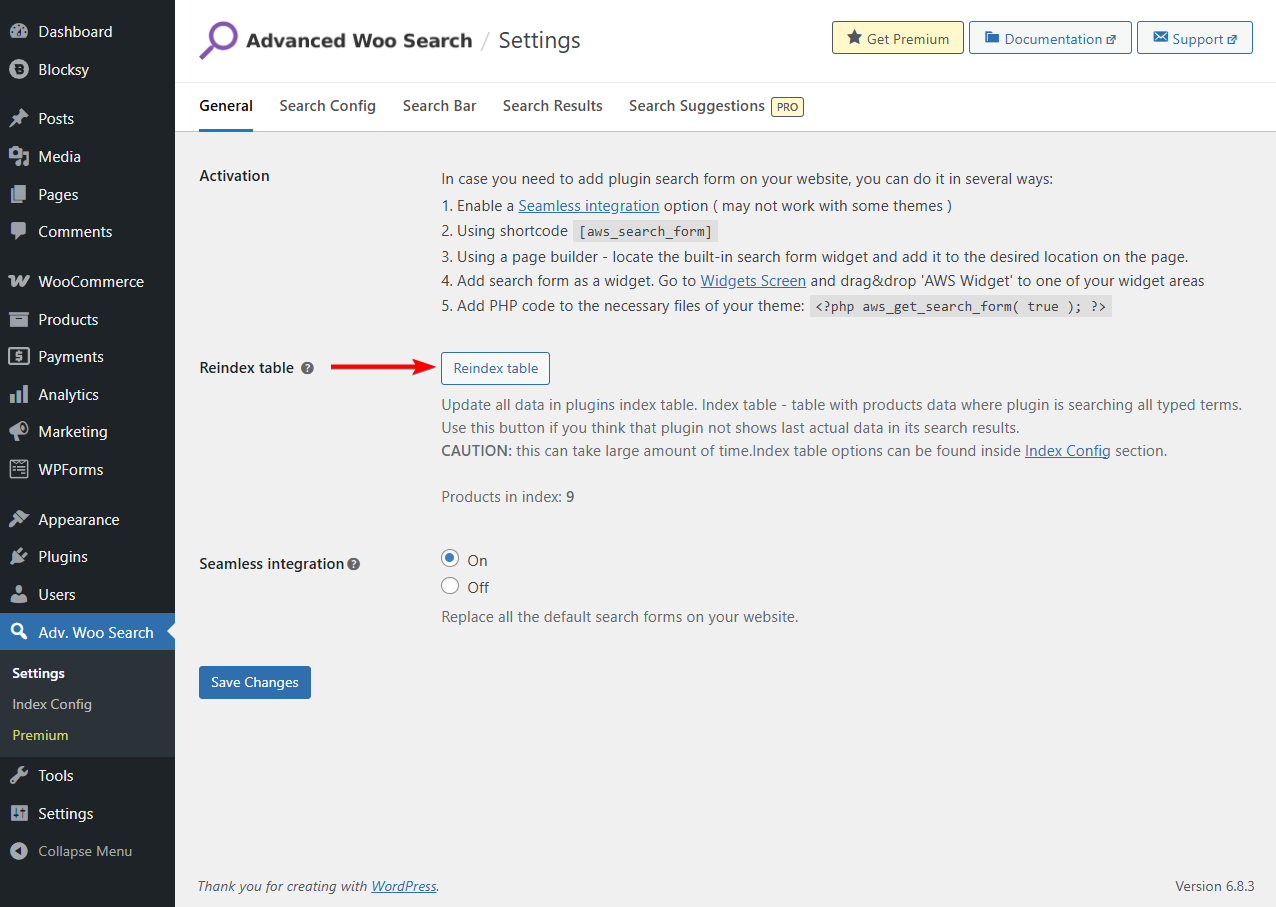
Before using the search, you need to build the plugin’s internal index. Go to Adv. Woo Search → General and click the Reindex Table button. The plugin will scan your products and create a dedicated search index based on your current catalog. This ensures that search results are accurate and load quickly.
Step 2: Enable Seamless Integration to Use AWS Form
As we said earlier, WooCommerce has a product search engine, but it’s limited. It has no settings to improve accuracy and offers no shortcode or block to place the search bar where you want. Most WooCommerce themes work around this by adding their own search bar, sometimes even on the shop page, but those search fields still rely on WooCommerce’s basic search system and come with the same limitations.
Advanced Woo Search helps you overcome these limitations by replacing your theme’s search bar with a smarter, more accurate search form using the Seamless Integration feature.
This feature automatically swaps your theme’s search bar with the AWS-powered version and ensures AWS is used anywhere your theme outputs a search field, including on the shop page if your theme displays one.
If your theme doesn’t include a search field on the shop page, you can still add the AWS form manually using a shortcode, widget, or block.
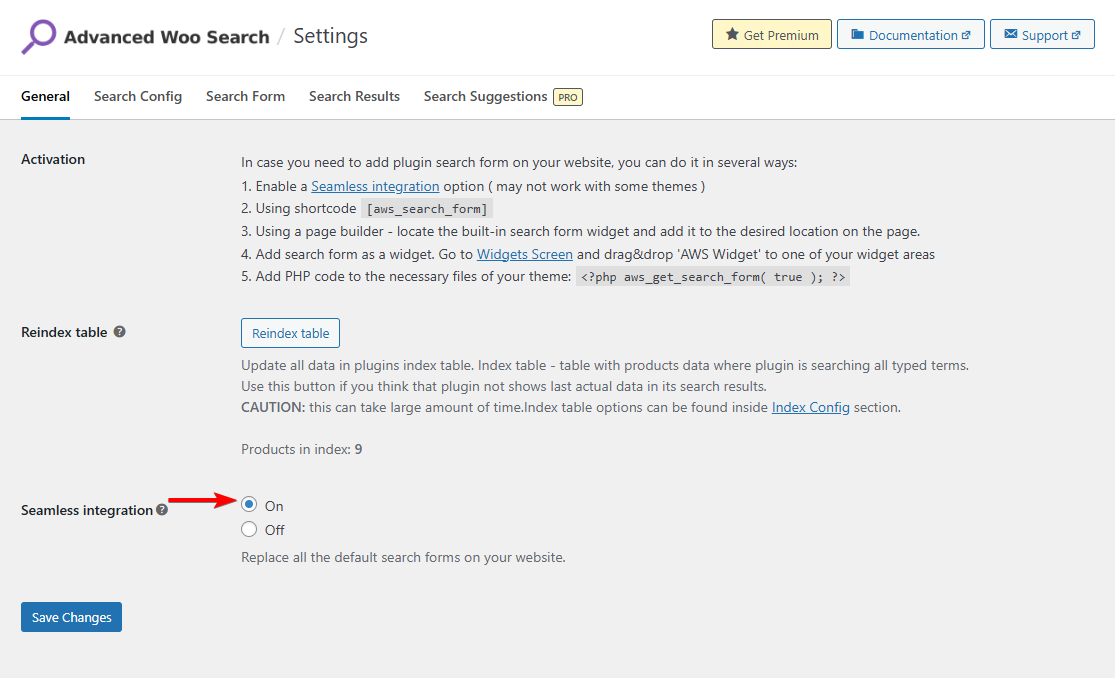
The free version of AWS creates a default search form automatically, so you don’t need to build anything yourself. Simply go to Adv. Woo Search → Settings and turn on Seamless Integration. Once enabled, every search bar generated by your theme will start using AWS.
The Pro version works the same way. It also generates a default form that you can activate using Seamless Integration. In addition, Pro users can create extra forms if they want different search forms with different configurations in different parts of the site. To add a second form, go to Adv. Woo Search → General, click Add New Form, name it, and save it. You can then place that form manually wherever you need it.
If you prefer manual placement, AWS supports shortcodes. The free version uses:
[aws_search_form]
Pro users can use the same shortcode, but can also utilize custom forms IDs like:
[aws_search_form id="1"]
[aws_search_form id="2"]
[aws_search_form id="3"]

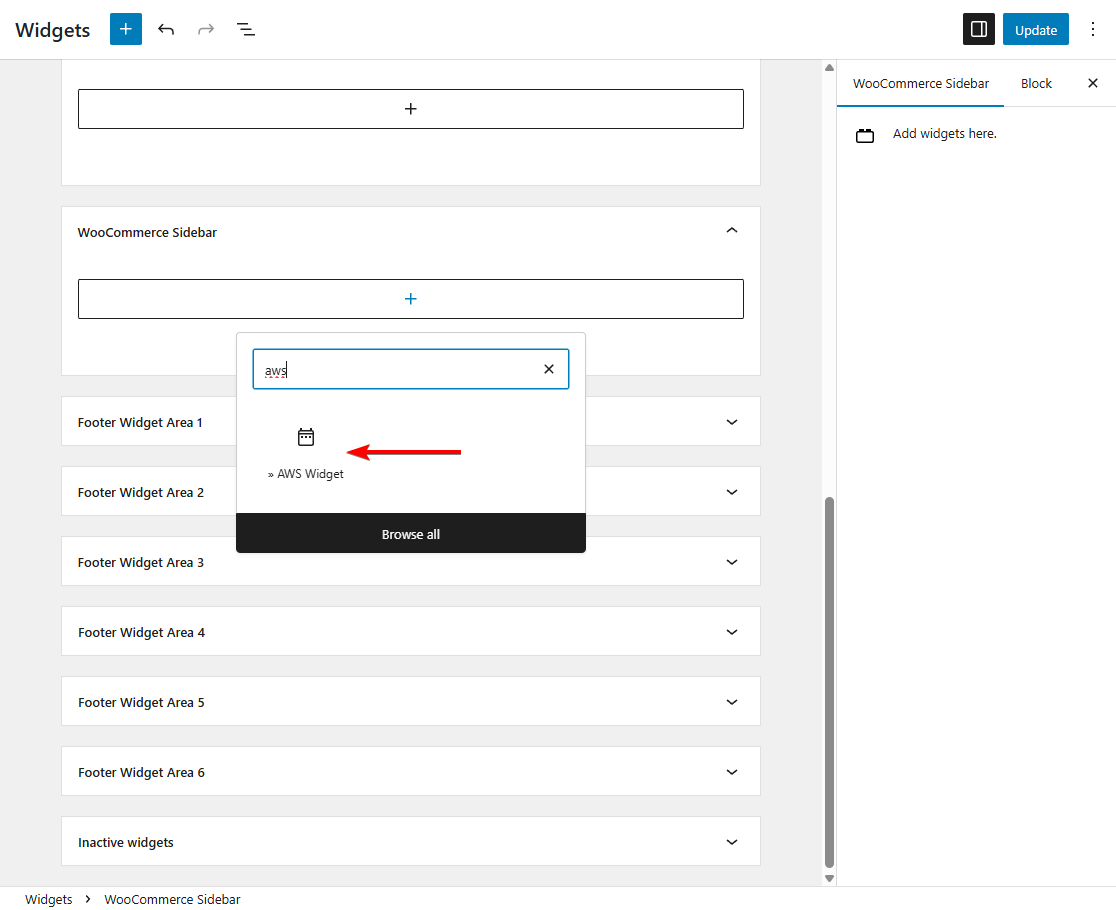
You can also add the AWS Widget from Appearance → Widgets if you want the search bar in your sidebar or header.
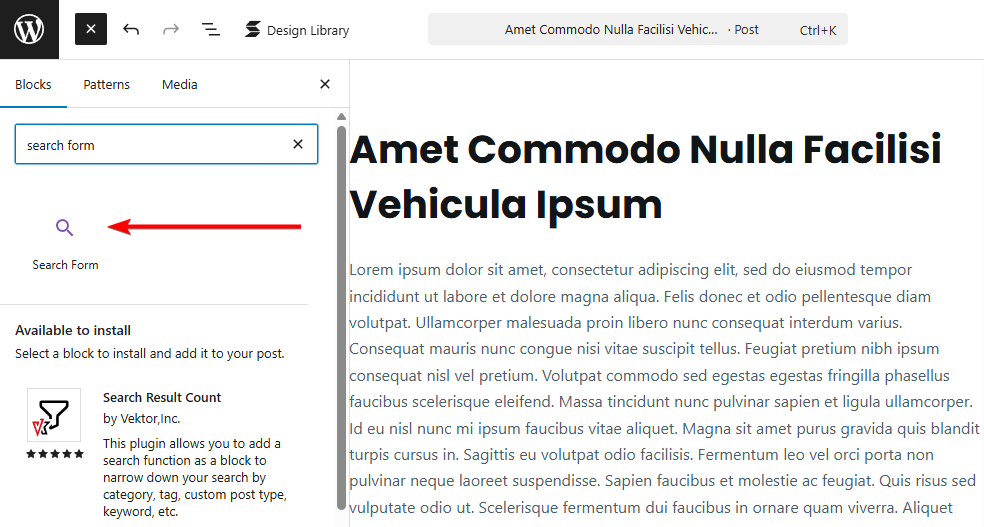
And if you’re using the block editor, AWS includes a dedicated AWS Search Block, which you can insert directly into any Gutenberg page or template. The plugin provides built-in search widgets for popular page builders like Elementor, Bricks Builder, Divi, Avada, and others, so you can place the AWS form directly inside your page builder layouts as well.
Step 3: Customize Search Form Settings
As mentioned earlier, WooCommerce’s built-in search engine cannot be customized. You can’t choose which product fields it looks at, you can’t change how results are displayed, and you can’t adjust relevance or behaviour.
Advanced Woo Search, on the other hand, gives you full control over how your search form works.
Open Adv. Woo Search → Search Forms and edit the form you want to use. In Search Config, pick the product fields to search (title, SKU, category, tag, attribute, or custom field) so AWS looks in the right places.
In Search Results, choose what appears in the live suggestions: image, price, short description, SKU, stock status, or add-to-cart. Tweak the form itself (placeholder text, button label, minimum characters for suggestions, AJAX on/off) so it fits your theme. Save and preview the shop page to confirm layout and result relevance.
The free plugin covers the basics (title, SKU, description). Attributes, custom taxonomies, alternate layouts, and some display options are Pro features.
You can also adjust a few performance settings if your store needs it. Increasing the AJAX timeout reduces the number of requests when users type quickly. You can limit how many words a query can contain or exclude large product fields from the index to keep the index size smaller. After changing any of these options, reindex the table to apply the update.
Step 4: Optimize Shop Page Search Experience
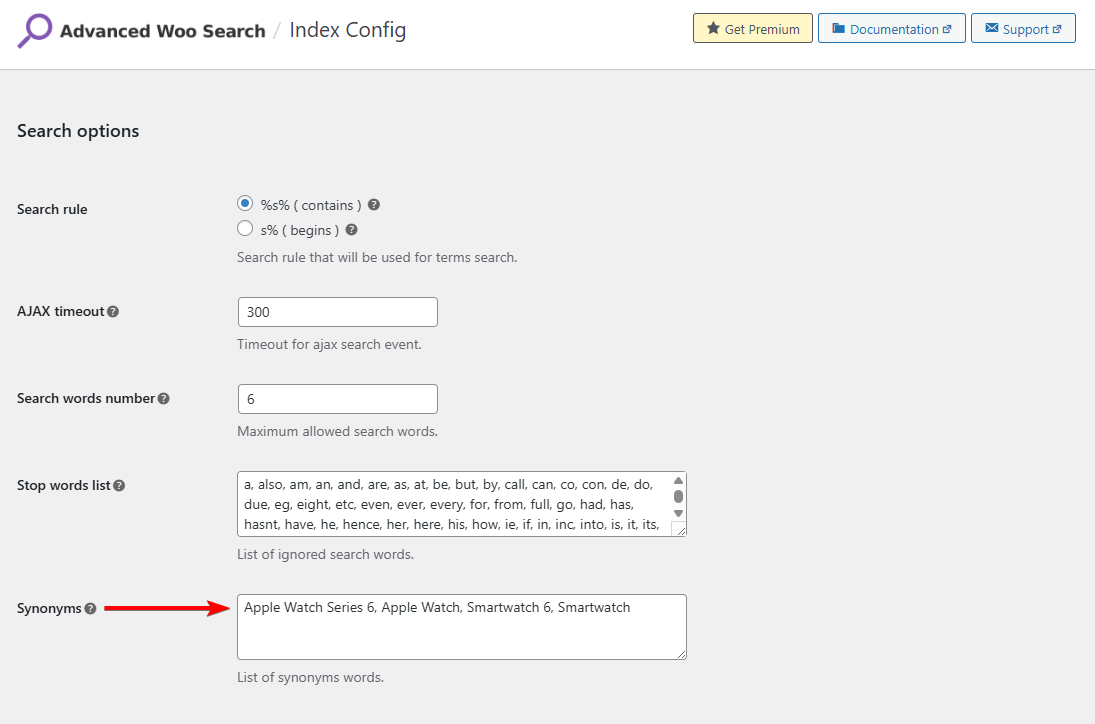
Once your search form is working, you can refine how customers interact with it. Start by enabling synonyms and common misspellings so AWS can recognise alternate terms. You can also turn on highlight search terms to make user queries stand out in the results.
Next, choose which product details should appear in the live suggestions, such as images, pricing, ratings, or stock status. These small tweaks help customers make quicker decisions. You can also experiment with placement (above the product grid, inside the sidebar, or in the header) to see which location performs best on desktop and mobile.
If you’re using the Pro version, you can take things a little further by adjusting relevance rules, enabling additional term results, choosing different result layouts, or adding quick filter buttons. These options help you refine what customers see and how results are ranked, but they are optional and not required for adding a search bar to the shop page.
Step 5: Test the Search Functionality
Once your search form is active, visit the WooCommerce shop page and try a few quick searches. Test a product name, a partial keyword, and an SKU to confirm that AWS returns the right results. The live results should load quickly and display the details you chose earlier.
If a product doesn’t show up, check whether its fields are enabled under Index Config → Data to Index, then reindex the table. This refreshes the index and usually fixes any missing items.
Finally, test the search bar on mobile. Make sure the field is easy to tap and that suggestions fit well on smaller screens. A quick check on desktop and mobile is usually enough to confirm everything is working smoothly.
If you require more assistance, look at these help docs. The free AWS plugin users can seek help from the plugin developer by posting questions in the repo, and pro plugin users can send a direct connection using this contact form.
FAQ
What is the shortcode for the WooCommerce search bar?
WooCommerce itself does not provide a default shortcode for a product search bar. To add a searchable form, you can use a plugin like Advanced Woo Search. The free AWS shortcode is [aws_search_form], and Pro users can use the same shortcode but can also create custom forms and add them to the store using shortcodes such as [aws_search_form id="1"], [aws_search_form id="2"], [aws_search_form id="3"], and so on and so forth.
Conclusion
Adding a search bar directly to your WooCommerce shop page gives customers a faster, more intuitive way to find products.
With Advanced Woo Search, you can replace WooCommerce’s limited search with a smarter system that supports titles, SKUs, attributes, and other key product fields. The plugin delivers instant AJAX suggestions, relevance-based matching, and clean search results that fit naturally into any shop layout.
Whether you enable Seamless Integration or place the form manually, AWS helps shoppers locate what they need without leaving the main catalog. This reduces friction, builds confidence, and leads to higher conversions.
If you want additional control, the Pro version offers extra layouts, multiple forms, and advanced relevance options, but the free version is more than enough to upgrade your shop page search.
- Try the free Advanced Woo Search plugin, or
- Get Advanced Woo Search Pro if you want more flexibility!
If you have any questions about WooCommerce add search to shop page, let us know in the comments section below.
Comments