BeRocket WooCommerce Advanced Product Labels
Know how to display product labels created with BeRocket WooCommerce Advanced Product Labels inside plugins search results box.
Know how to display product labels created with BeRocket WooCommerce Advanced Product Labels inside plugins search results box.
WooCommerce Advanced Product Labels by BeRocket plugin provides features to easily and fast create WooCommerce products labels. Create labels, set display conditions, change labels styles, add custom labels text.
1. Create product label.
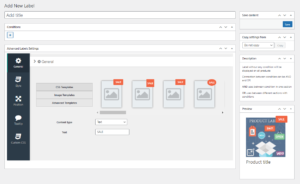
First of all you need to create a product label ( if you already do not do this ). Just navigate to BeRocket -> Advanced Labels page and click Add Label. On the next page set all necessary options for your label: set display conditions, label template, text and styles. After all is done just hit Publish button.

Label edit page
2. Enable labels display.
Open plugin settings page -> Search Results tab and enable Show BeRocket Labels? option. Here you can choose the position of the label relative to product fields inside the search results box.

Labels display options
3. Check your search results.
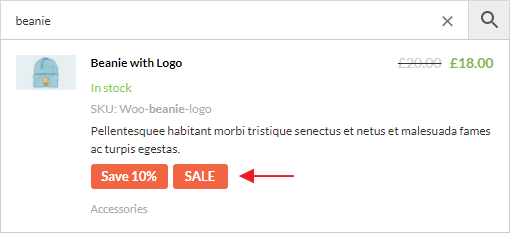
That's all! Just check your search results AJAX box and find created labels there.

Labels inside plugin search results
Overview of most common features.
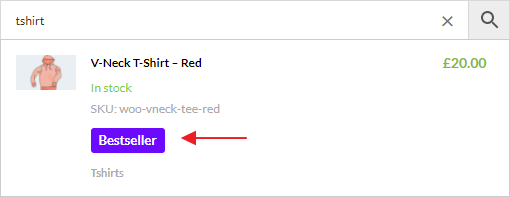
If you decide to show product variations inside plugin search results then labels will be properly displayed for all these variations.

Labels for product variations
Labels are displayed for both the search results page and live results block.
Choose different labels positions: after product content, after price, after title. Or just fully hide them for any search form instance or filter.
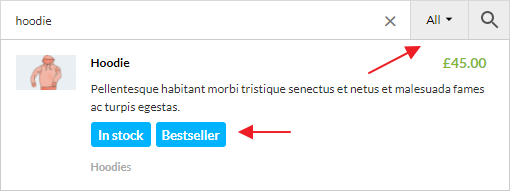
With the PRO plugin version it is possible to create different search results filters for search forms. And you can set labels display options separately for each of this filter. For example, set different labels positions for different filters. Or just fully hide labels for some of them.

Labels inside first filter

Labels inside second filter
Plugin will respect all label options set from BeRocket settings page. So your labels for search results will have exactly the same view that you set for theme via edit page.