Overview
For any of search form instance you can create an endless number of filters buttons.
Search form filters buttons are some sort of pre-defined search settings.
Example: you have an e-commerce website where you sell shoes and t-shirts.
You can create one filter to display only search results for shoes and another filter to display search results with t-shirts.
For shop users these filters look like a tab and displayed in the right or left side of the search box.
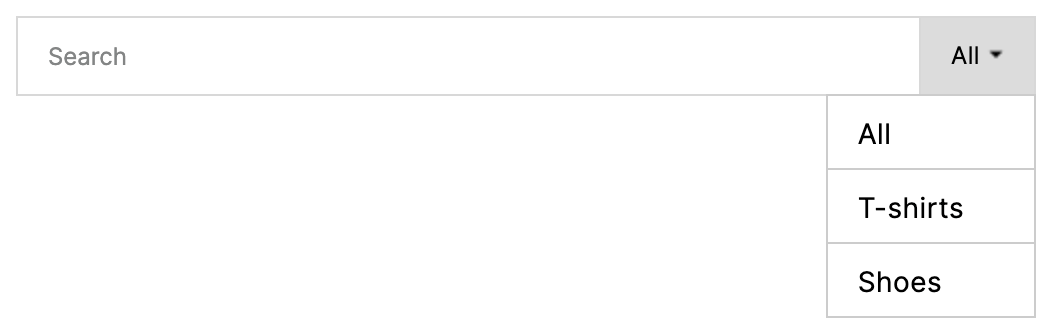
Search form with filters
How to create filters buttons
Follow these steps to create your first filter button for search form.
1. Go to the needed search form instance settings page -> Search Bar tab.
2. Click on Quick Filters navigation button to see options related to this feature.
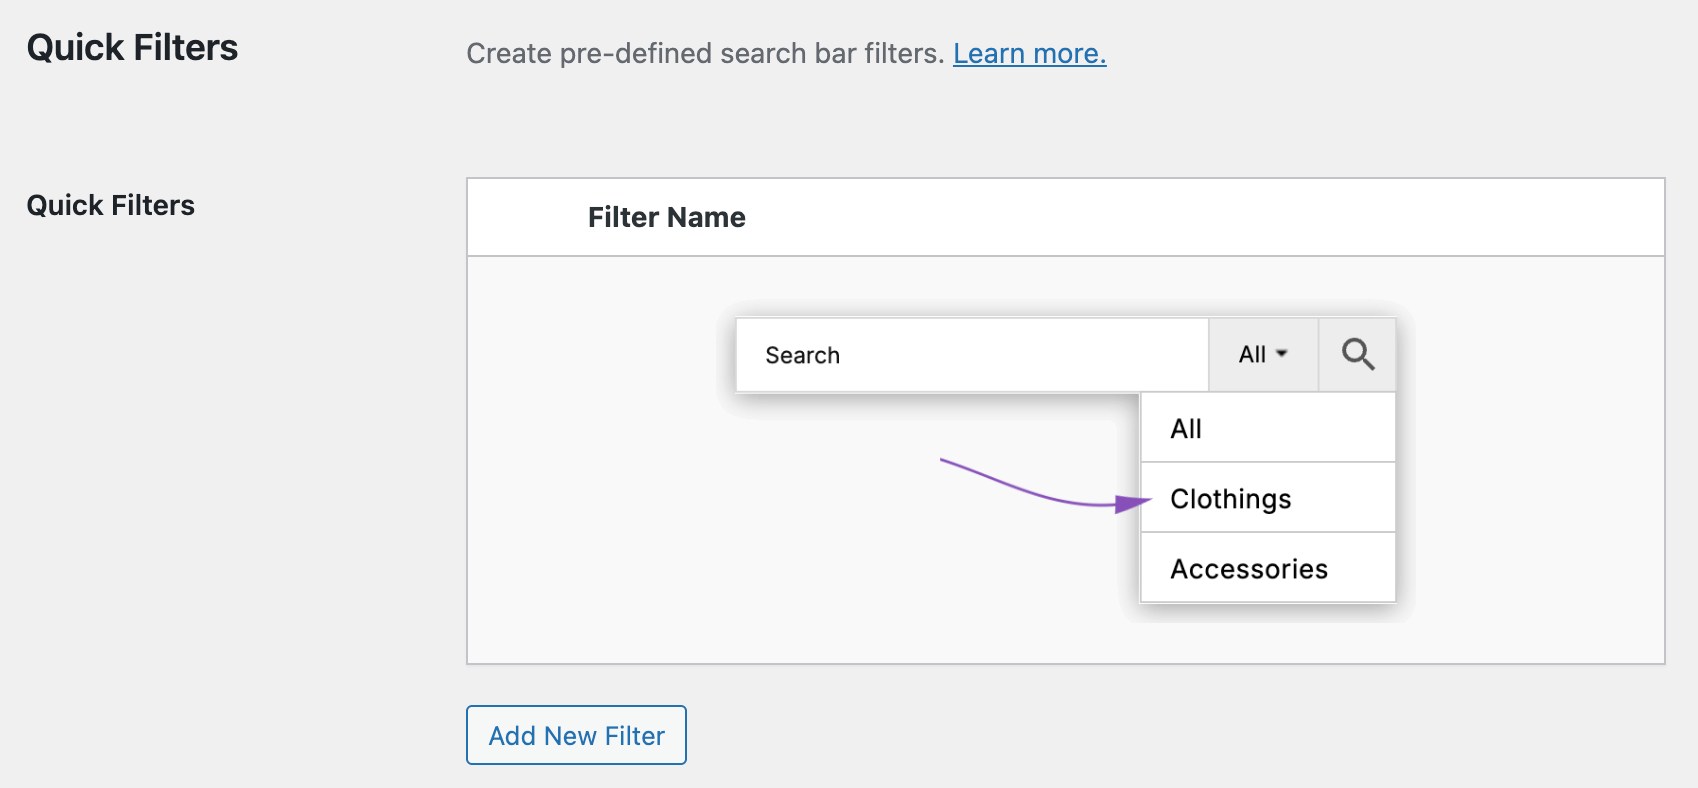
Quick filters option
Click Add New Filter button to create a new filter.
3. New filter that is called New Filter must appear inside the filters table. Click on its name or gear icon to view filter specific options.
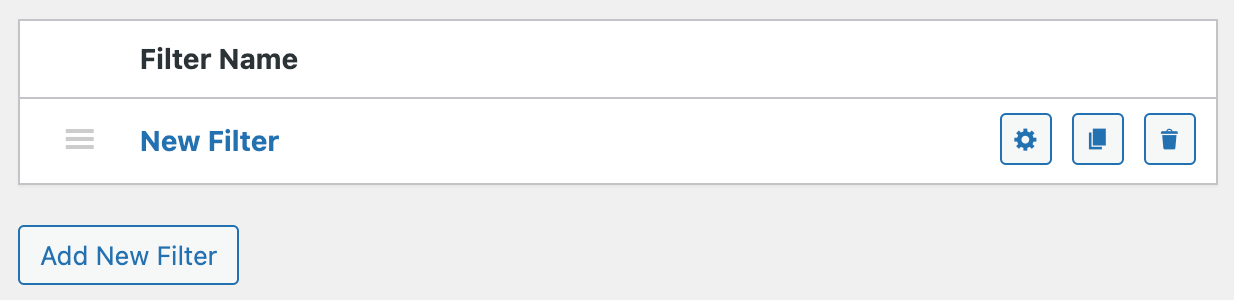
New quick filter for search bar
4. Now you can set any option that will be specific for this new filter.
First of all, change the filter name via the Filter name option.
The main option here - is a Filter Type that allows you to choose between creating filter filtering option with manual filtering parameters or creating multiple filtering options at once by generating them via one of product taxonomy ( category, tag, brand, etc ).
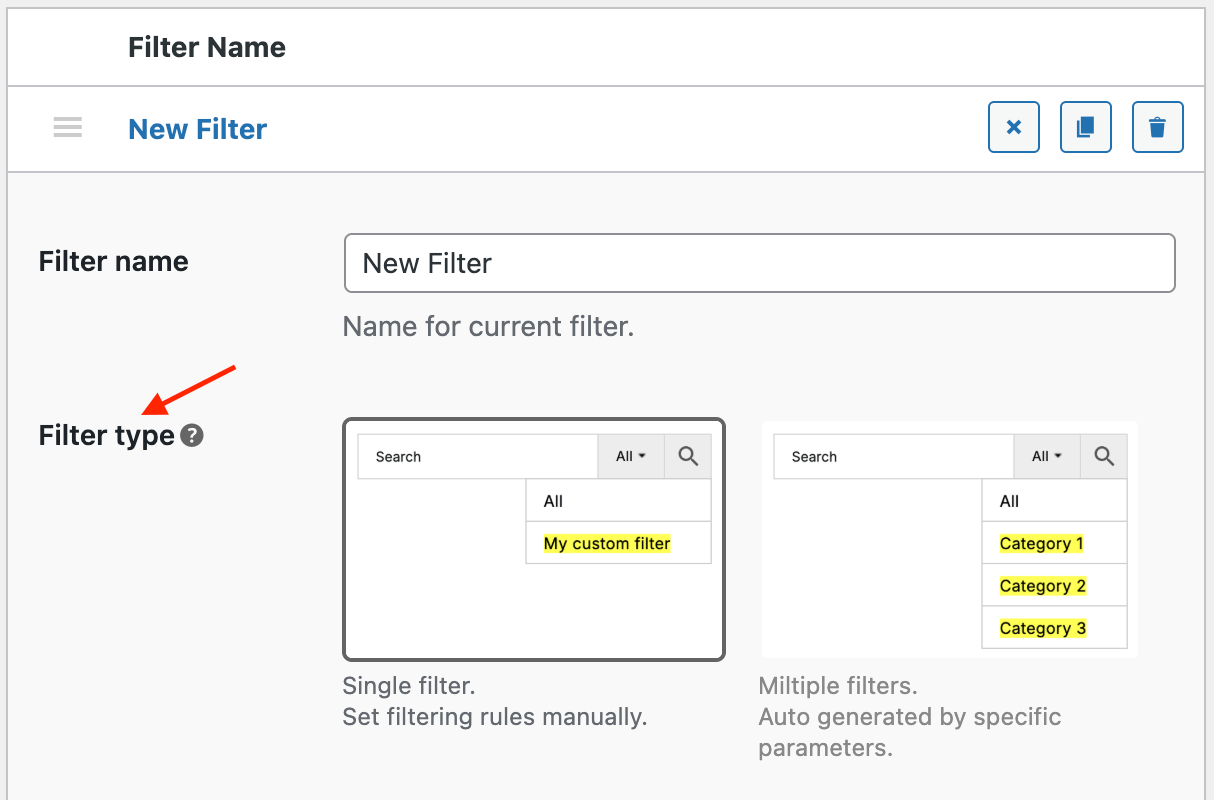
Filter type option
5. For example we want to create a simple filter and just filter search results by sale status and show only On Sale products when filter is activated.
In this case set Filter Type option to Simple and create a following rule for Product Results option.
Product is on sale -> equal to -> Yes
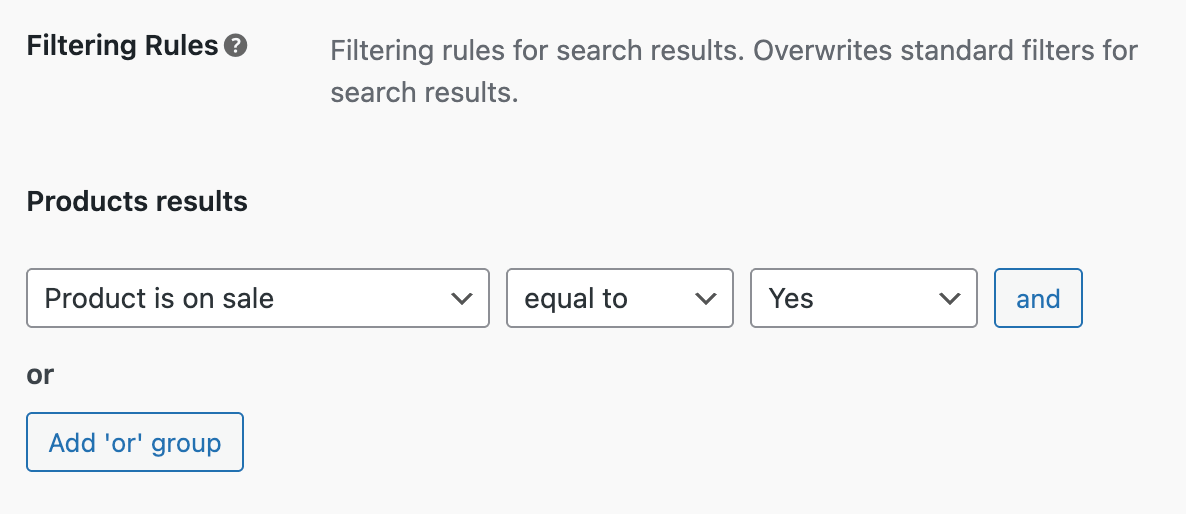
Search results filtering rules
6. When all needed options are set just click on the Save Changes button at the bottom of settings page. Newly created filter button will be visible on your site for this specific search form instance.
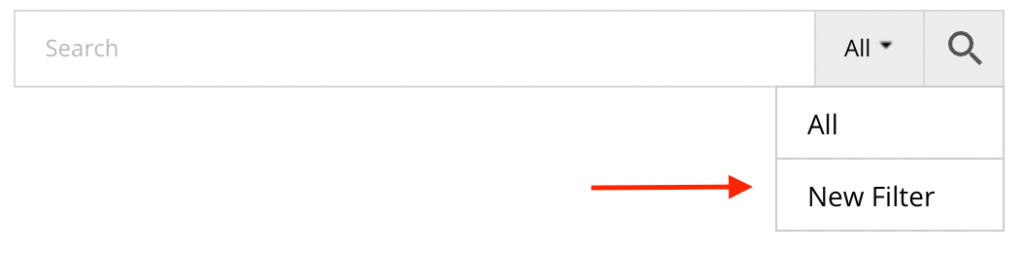
New filter button for search form
Example: Filter to show only search results from the specific category
Most common use case for filters buttons - show search results from certain categories for each filter button.
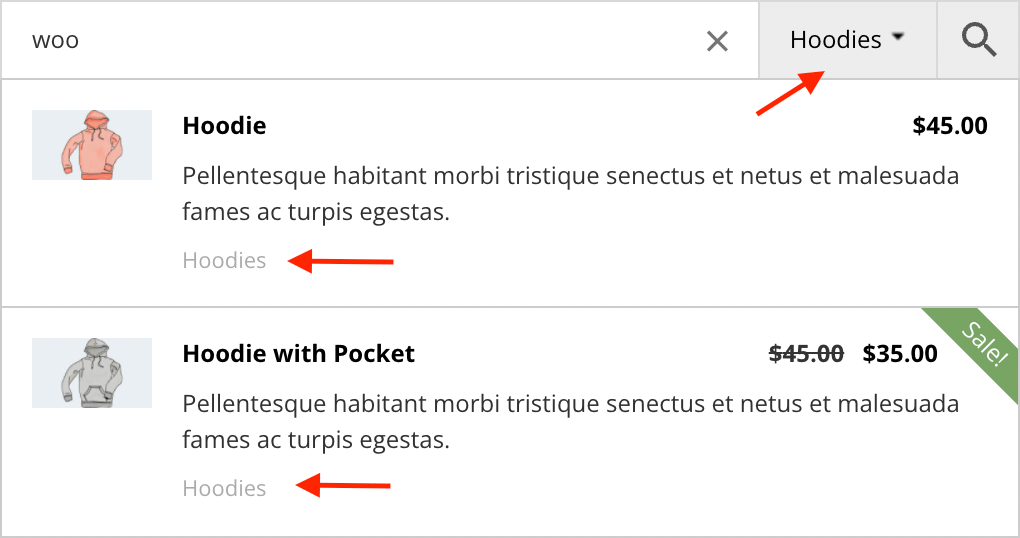
Filter based on product category
Here is a steps to create such filter:
1. Go to the needed search form instance settings page -> Search Bar tab. Then navigate to Quick Filters section.
2. Click Add New Filter button to create a new filter. Then click on this newly created filter inside the filters table to open this filter settings.
3. Find Filter name option and name your filter according to what categories it must display.
4. Scroll down to Filtering Rules section and click Filter products search results button. Choose Product category filter rule and select needed category from the list.

Filter rules based on product category
Use OR filter rules group if you want to show products from multiple categories inside this search form filter.
5. Done. Just click Save Changes button and the newly created filter will be visible for your shop search form.
Example: Filter to show only products main categories
Another case - show inside search results specific products categories. For example - we have different top level categories like Clothings, Devices, Decor. We want to create Clothings filter that will display categories search results like Hoodies, T-shirts, ... ( child categories of this top level Clothings category ).
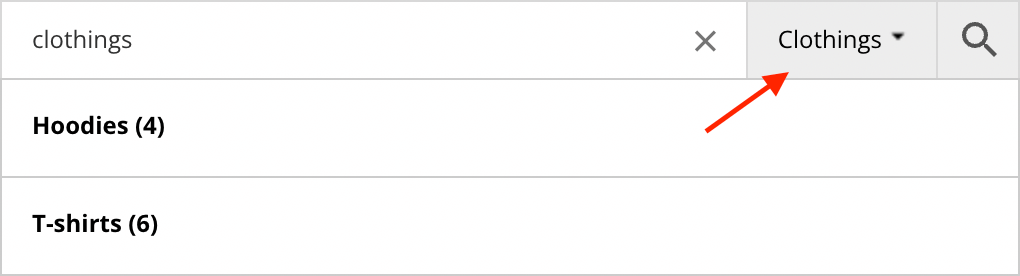
Filter to show specific product categories
Just follow these steps to create such a filter:
1. Go to the needed search form instance settings page -> Search Bar tab and open Quick Filters section.
2. Click Add New Filter button to create a new filter. Then click on this newly created filter inside the filters table to open this filter settings.
3. Find Filter name option and name your filter according to what categories it must display.
4. Scroll down to Filter Results section and click Filter taxonomies archive pages results button.
Set following rules:
Term page taxonomy -> Product categories -> equal to -> YOUR_CATEGORY_NAME
Term hierarchy type -> equal to -> Child
Also click on Filter products search results button and set this rule to exclude all products search results:
Product -> not equal to -> Any product

Filter rules based on parent category
5. Don't forget to enable taxonomies pages search for current search instance. To do this go to Search Results tab, find Archive pages option and enable Category field inside it.
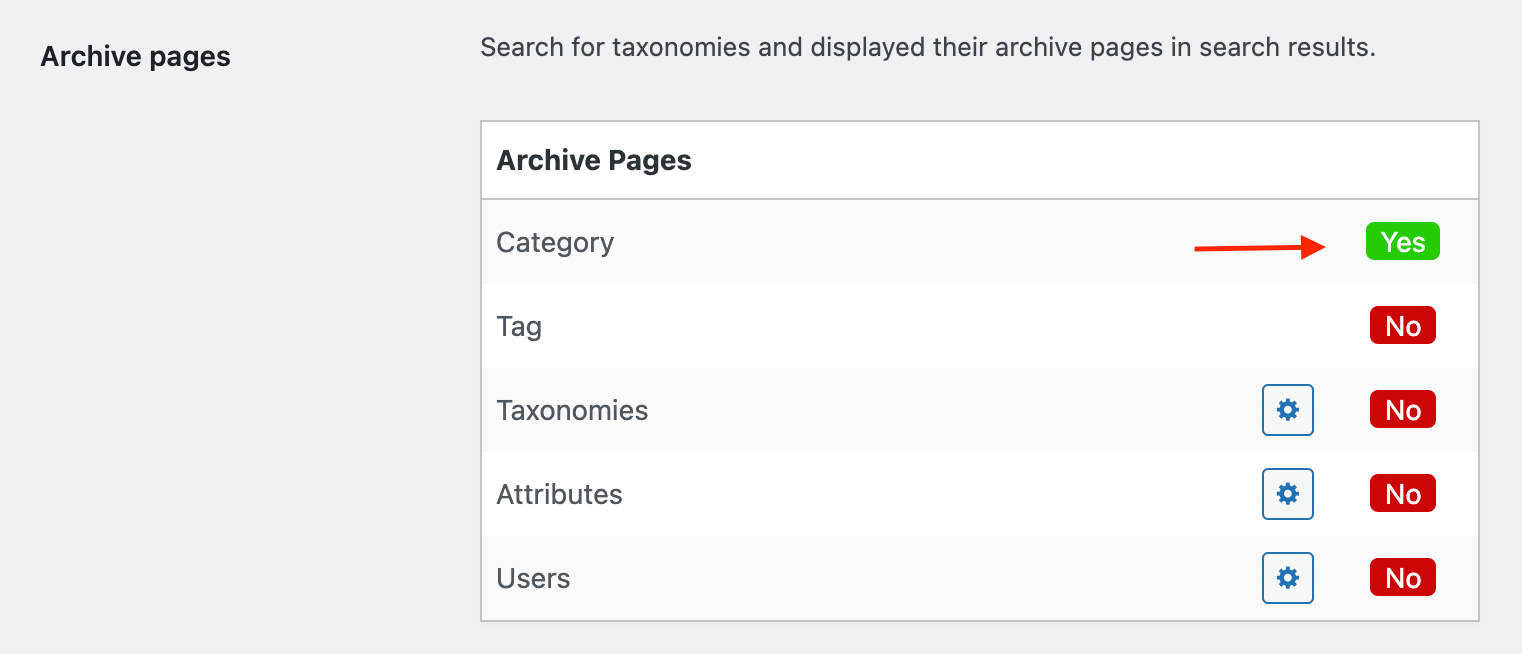
Archive pages option
6. Click Save Changes button at the bottom of the page. Now the search form filter is created and must be visible on your shop pages.
Example: Filter to show only shop vendors
Let's create another filter that will be called Vendors that will show only shop vendors. This will be a user with role Store Vendor.
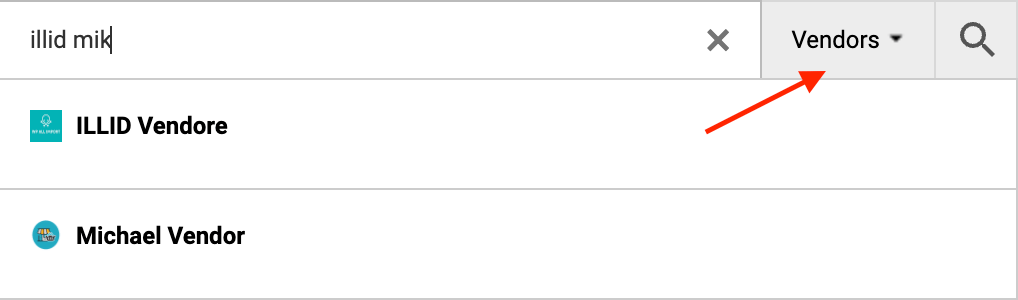
Filter to search and show vendors
In this example we are using the WCFM – Multivendor Marketplace plugin to create and display shop vendors. Also this plugin has advanced integration with Advanced Woo Search. But you can use any other multivendor plugin or even create needed user roles by yourself.
Here is a steps that you need to follow to create such filter:
1. Go to the needed search form instance settings page -> Search Bar tab and open Quick Filters section.
2. Click Add New Filter button to create a new filter. Then click on this newly created filter inside the filters table to open this filter settings.
3. Find Filter name option and name your filter. For example, set it to Vendors.
4. Scroll down to Filter Results section and click Filter users archive pages search results button.
Set following rules:
User role -> equal to -> Store Vendor
Also click on Filter products search results button and set this rule to exclude all products search results:
Product -> not equal to -> Any product
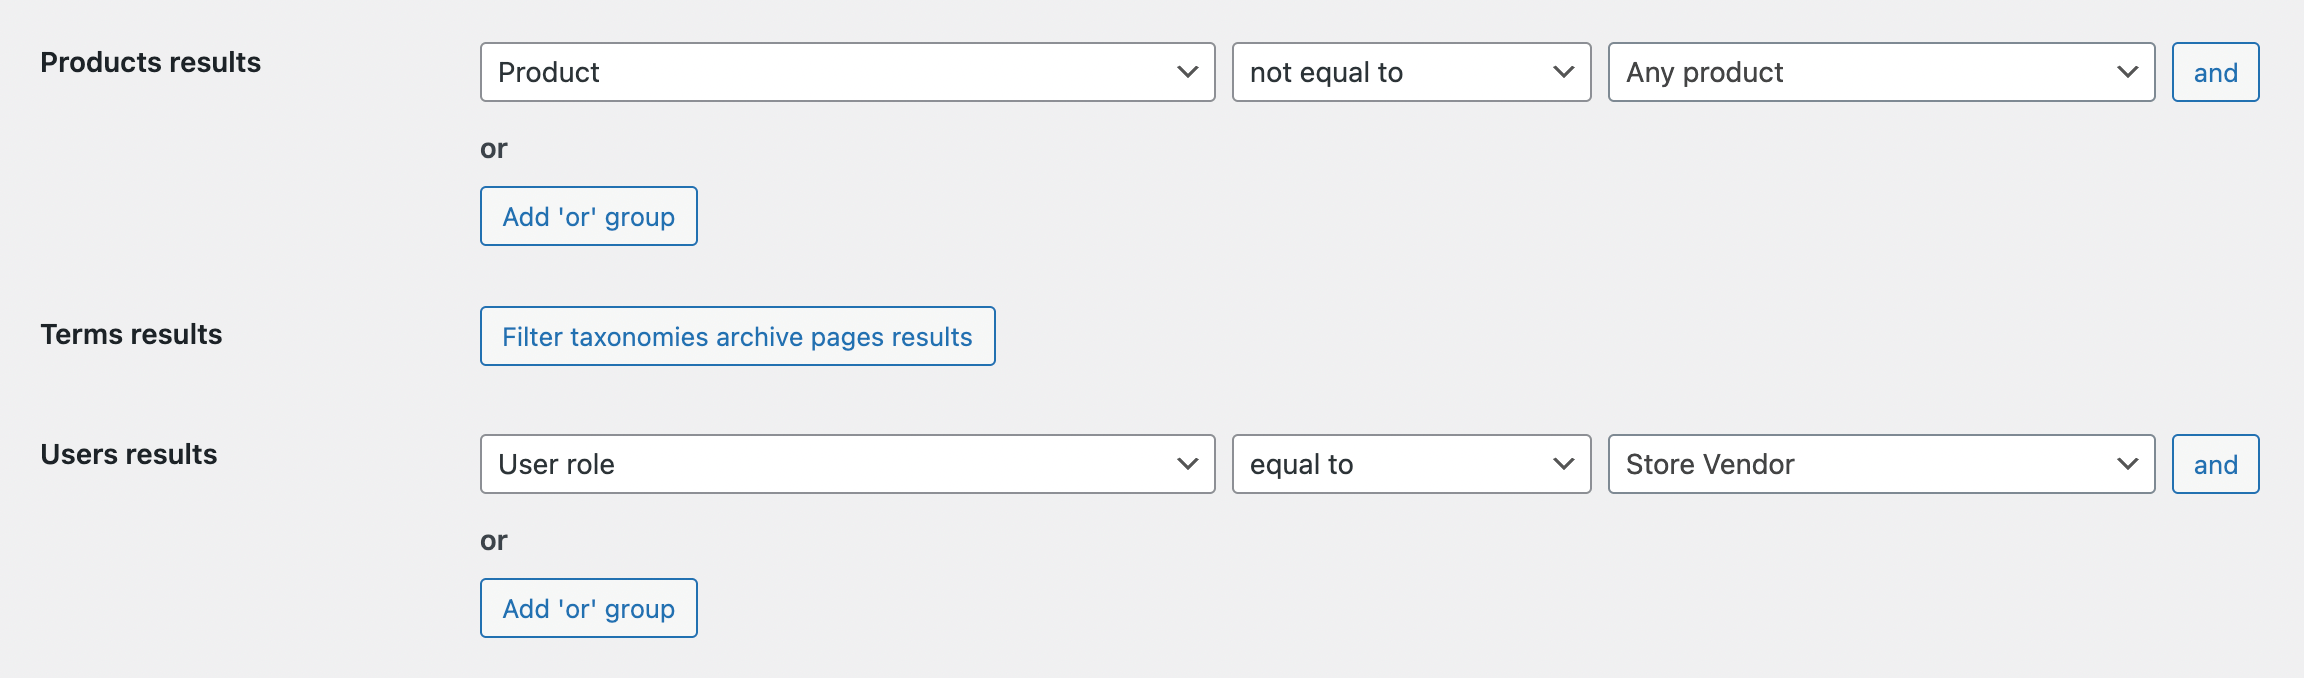
Filter rules based on user role
5. Don't forget to enable users search for the current search form instance. Go to the Search Results tab, find Archive pages option and enable Users field inside it. Also click on the gear icon near it and choose all user roles that need to be searchable.
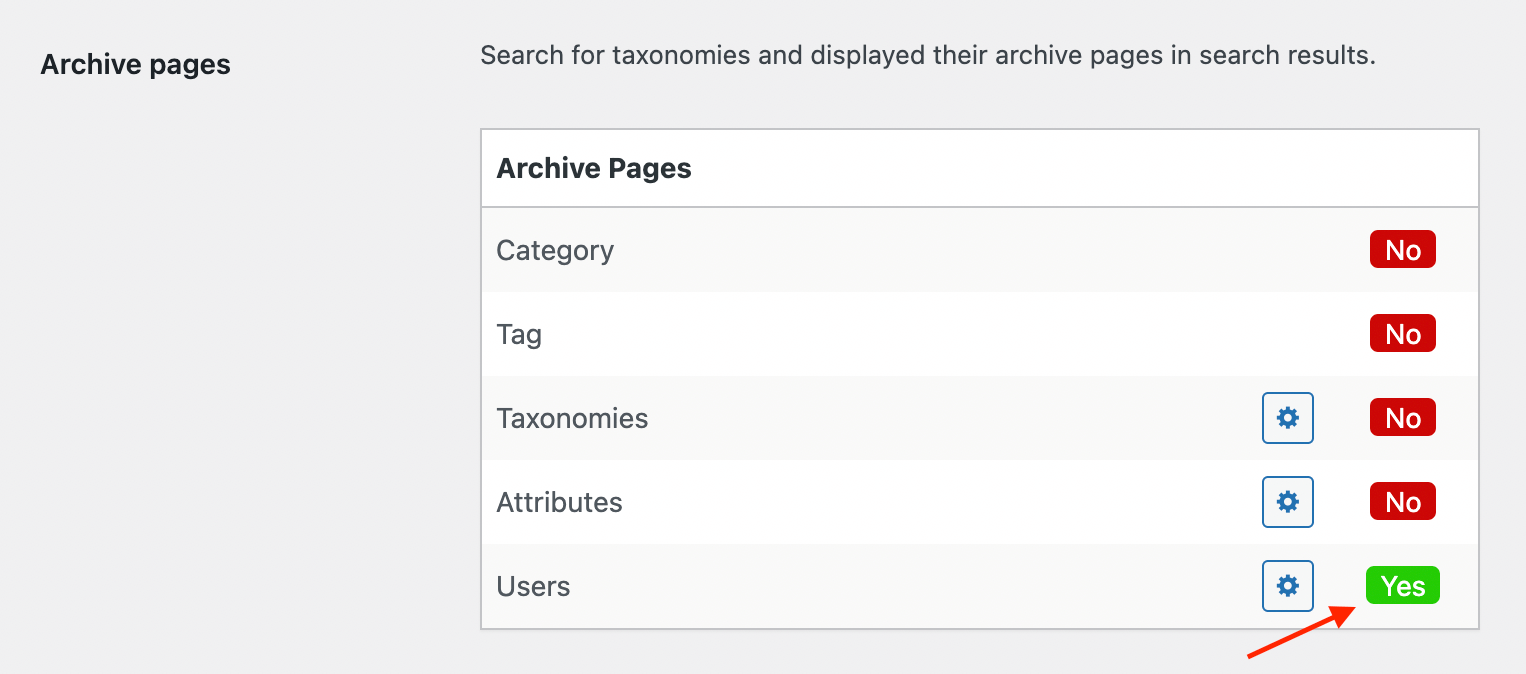
Archive pages option
6. Now just click on Save Changes button at the bottom of the page. Your new filter is ready and must be visible inside shop pages for the current search form.